
Photo by Samuel Zeller on Unsplash
As any admin at any company will tell you, you can never really trust anybody that tells you it’s okay to delete something, ever. This holds especially true for email. If I had a euro for every time I was given the go-ahead to delete an old mailbox of some user that hasn’t been with the company for ages, and then 3 years later have somebody come asking for the backups of that mailbox, I could probably afford a small Fiat from the 90’s that will never pass MOT inspection ever again.
The solution to that problem is of course to dump out the whole Exchange database from some ancient backup and extract a PST from there. And then repeating the exercise 3 times because you used either a too ancient or not ancient enough database. But what if I told you there was an easier way? Such as dumping out a PST before deleting the aforementioned mailbox?
This has numerous advantages; first, it solves the problem of users never erring on the side of caution when telling you to delete stuff. Secondly, you no longer have to find out if anybody wants that users emails, as soon as you get clearance from HR, you just squirrel away the PST and nuke the account from orbit. This second part is even better, because this saves you from doing the annual “why are half the mailboxes on the server dead?” clean-up.
Exchange 2010 SP1 and 2013
The only way I’ve found that’s even remotely acceptable is to do this through the Exchange Management Shell (EMS) using PowerShell. The option to do it through Outlook is out of the question for more than one users in your lifetime, so I’ll now even bother explaining it here.
First, we’ll need to assign the Mailbox Import Export role to a user or group that you aim to use to do this procedure. What most articles doesn’t tell you, is that by default no user or group has this permission by default, so you need to assign it before continuing.
New-ManagementRoleAssignment -Role "Mailbox Import Export" -User "<user name or alias>"
After this, you’ll need to close the EMS and open it again, otherwise it will throw an error at you that the New-MailboxExportRequest cmdlet is unknown in the next step, which is rather unhelpful.
After that, you can export the mailbox as an PST with the following command.
New-MailboxExportRequest -Mailbox <user> -FilePath "\\server1.domain.local\share name\<pst_name>.pst"
Note the following:
The -Mailbox parameter accepts the alias, SMTP address or display name for the mailbox, which is rather nice. -Filepath needs to be a UNC path, so no local paths, and it’s a good idea to enclose the path in double quotes so PowerShell doesn’t throw a hissyfit over spaces in the path. Naturally your user needs to have access to that file share.
You can of course do a lot of other advanced stuff like only export archives or Sent folders, but I’ve frankly never had a use for that, I quite explicitly want everything in the mailbox.
Microsoft has a quite comprehensive write-up on the subject if you’re interested.
Another thing I rarely see mentioned in articles is that this procedure takes quite a bit of time per mailbox, so your request are actually queued by the Exchange server. On the servers I’ve tried it’ll process the first 5 requests instantly, and then queue the rest until it can finish one of the first 5.
To view that status of the whole queue, you can use the Get-MailboxExportRequest cmdlet, which shows you all current requests in alphabetical order.
Get-MailboxExportRequest
Exchange 2016 and 2019
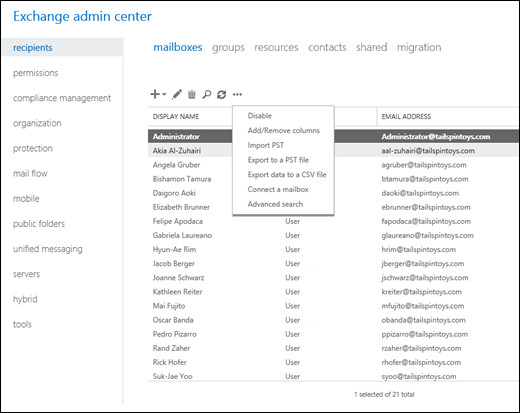
Exchange 2016 and 2019 supports the same EMS cmdlets as above, but additionally Microsoft has added the option to export it right from the GUI, which is rather nice.
Categories: Tech

Leave a comment